Passort简化流程与循环引用问题#
pnpm add @nestjs/passport passport passport-local passport-jwt -Spnpm add @types/passport-local @types/passport-jwt -D为了和之前的区分,这里使用Auth模块专门来验证用户信息
nest g mo authnest g s auth --no-spec在auth.service.ts中处理用户验证逻辑
@Injectable()export class AuthService {  @Inject(UserService)  private userService: UserService
  async validateUser(username: string, password: string): Promise<any> {    const findUser = await this.userService.findOneByUsername(username)    if (findUser && findUser.password === md5(password)) {      return findUser    }    return null  }}
注意:
这里需要留意两个问题
**1、导出问题:**这里引用了User模块中的UserService,在User模块中,需要导出UserService,同理,如果到时候Auth模块中的AuthService需要在User模块中引入,同样需要导出
**2、循环引用问题:**由于可能两个共享模块中,存在互相引用的问题,那么这样就会形成循环引用,这是不允许的,但是有时候我们可能不得不这么做,可以使用
forwardRef函数来解决循环依赖的问题。forwardRef允许你创建一个延迟加载的模块或提供器引用,从而避免在初始化时立即解析循环依赖
user.module.ts
import { Module, forwardRef } from '@nestjs/common'import { UserService } from './user.service'import { UserController } from './user.controller'import { TypeOrmModule } from '@nestjs/typeorm'import { User } from './entities/user.entity'import { AuthModule } from 'src/auth/auth.module'
@Module({  imports: [    TypeOrmModule.forFeature([User]),    forwardRef(() => AuthModule), // user模块可能会引用auth模块  ],  controllers: [UserController],  providers: [UserService],  exports: [UserService], // 导出UserService,其他模块可以引入})export class UserModule {}
auth.module.ts
import { Module, forwardRef } from '@nestjs/common'import { AuthService } from './auth.service'import { UserModule } from 'src/user/user.module'import { PassportModule } from '@nestjs/passport'
@Module({ imports: [forwardRef(() => UserModule), PassportModule], providers: [AuthService], exports: [AuthService],})export class AuthModule {}在auth模块中,由于我们要使用passport模块,所以我们先导入了**PassportModule模块**
我们上面已经有了AuthService的本地验证方法,接下来我们可以通过Passport实现简单的本地身份验证策略,直接创建一个名为loca.strategy.ts的文件,定义LocalStrategy类并继承PassportStrategy
import { PassportStrategy } from '@nestjs/passport'import { Strategy } from 'passport-local'import { AuthService } from './auth.service'import { Injectable, UnauthorizedException } from '@nestjs/common'
@Injectable()export class LocalStrategy extends PassportStrategy(Strategy) {  constructor(private authService: AuthService) {    super()  }
async validate(username: string, password: string): Promise<any> { const findUser = await this.authService.validateUser(username, password) if (!findUser) { throw new UnauthorizedException() } return findUser }}默认情况下,本地策略需要从请求中获取名为username何password的两个属性,注意本地策略要使用,需要注册为provider
import { Module, forwardRef } from '@nestjs/common';import { AuthService } from './auth.service';import { LocalStrategy } from './local.strategy';import { UserModule } from 'src/user/user.module';import { PassportModule } from '@nestjs/passport';
@Module({ imports: [ forwardRef(() => UserModule), PassportModule, ], providers: [AuthService, LocalStrategy], exports: [AuthService],})export class AuthModule {}在User模块的controller中,为了和之前的路由区分,这里新建一个登录的路由:
@UseGuards(AuthGuard('local'))@Post('loginPassport')async loginPassport(@Req() req) { return req.user;}现在如果登录成功,提示以下信息:
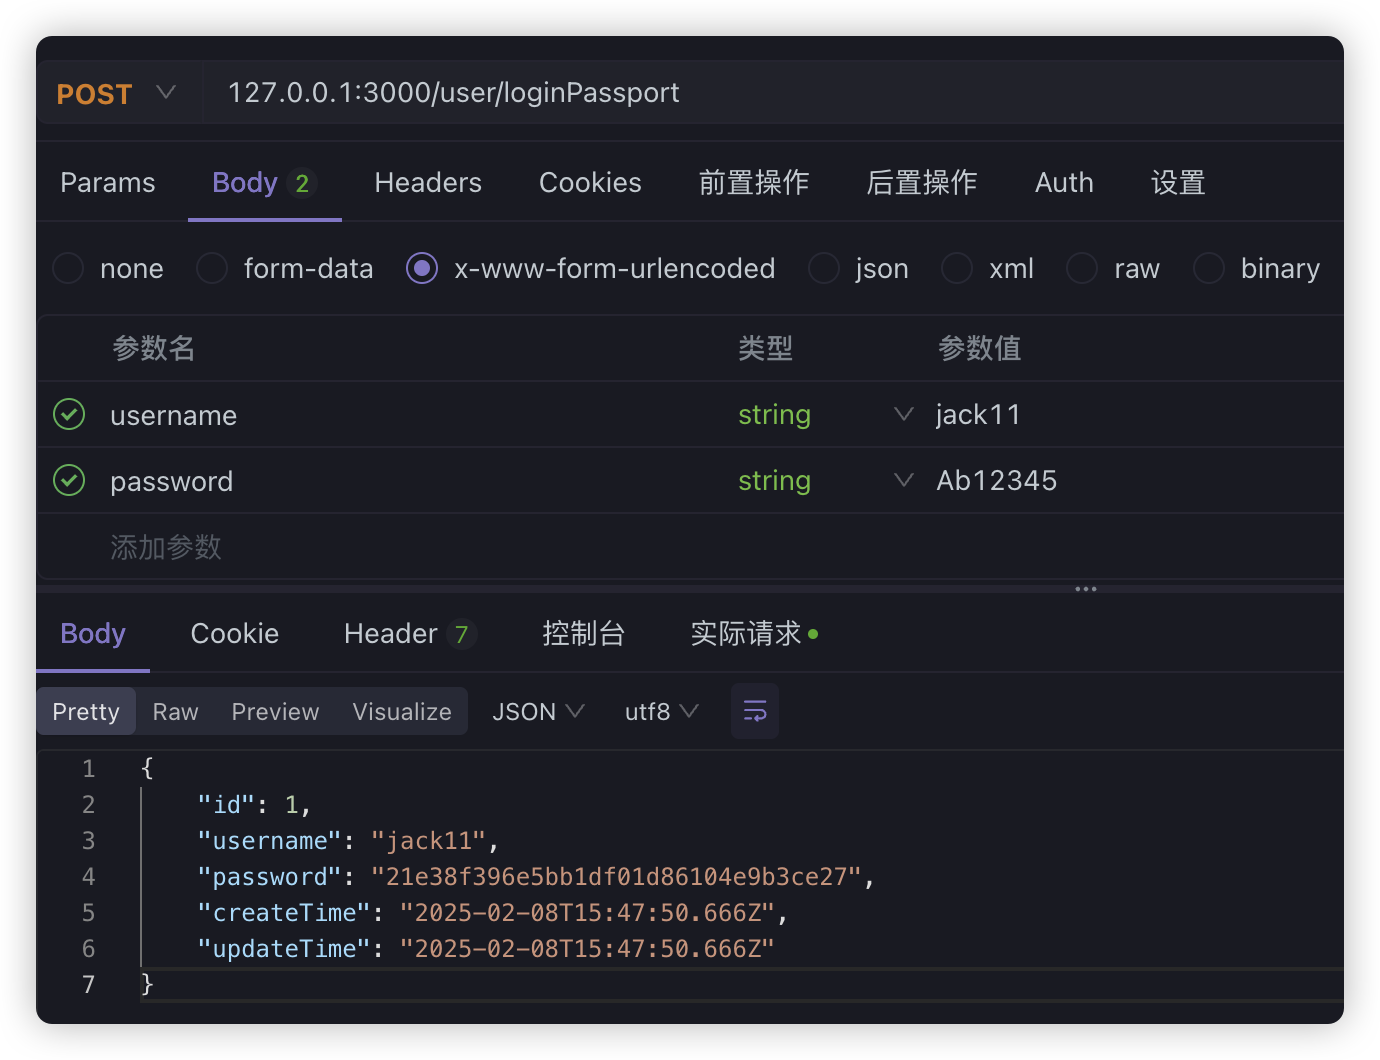
如果失败:
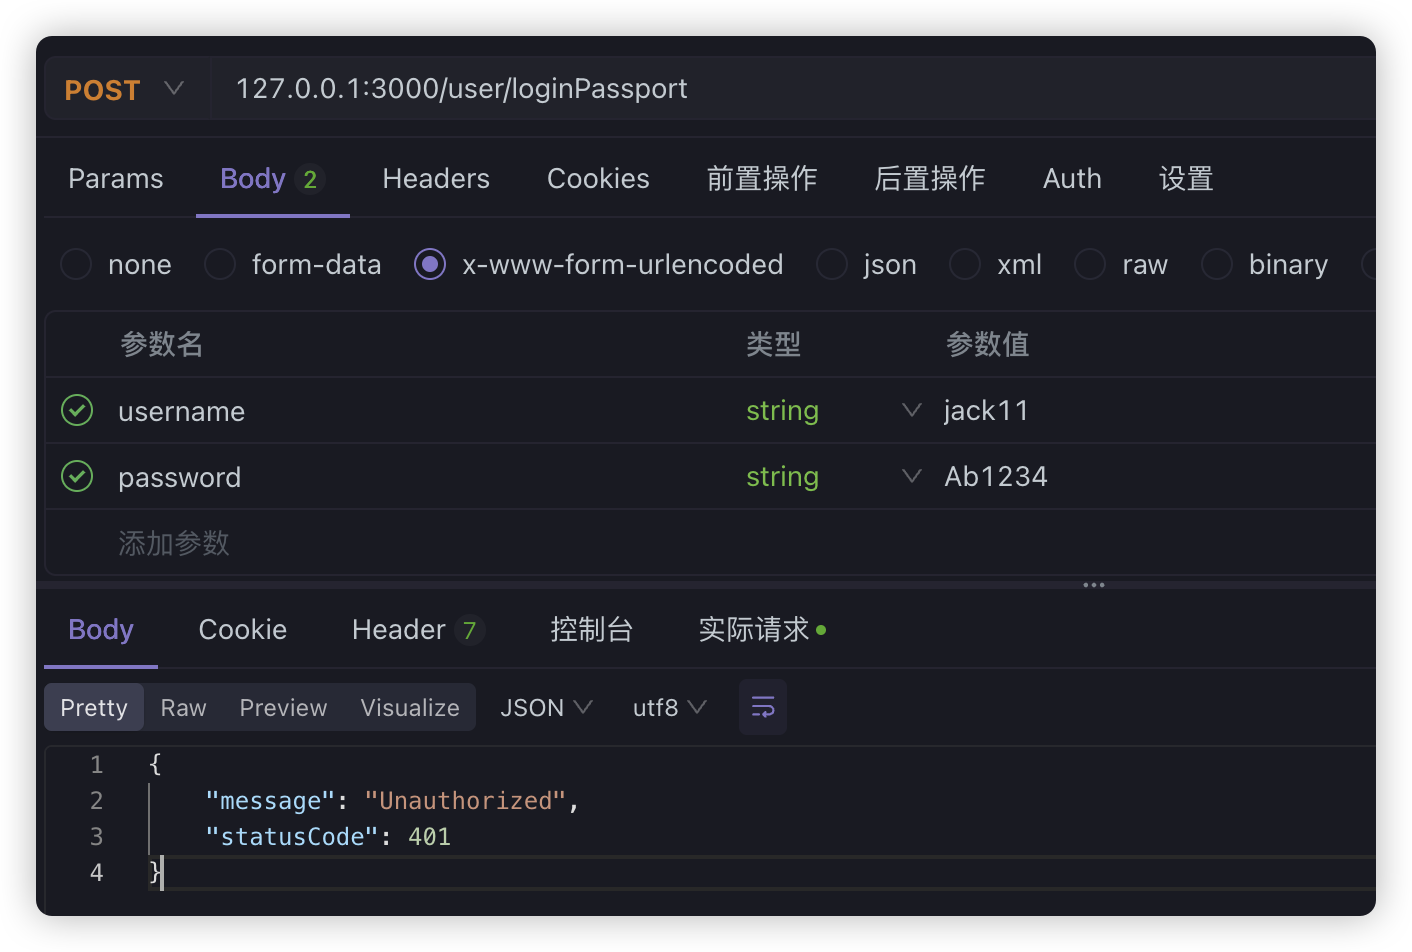
其实就是通过本地策略LocalStrategy,拦截了请求信息,然后处理了相关登录验证业务。
接下来同样**通过Passport来验证JWT,**首先我们需要在AuthModule中引入JwtModule,这相当于在模块中单独引入了JWT模块,我们之前的相当于是全局引入。并且我们还需要创建一个JwtStrategy并引入到模块
@Module({ imports: [ forwardRef(() => UserModule), PassportModule, JwtModule.register({ secret: 'MySecret', signOptions: { expiresIn: '7d' }, }), ], providers: [AuthService, LocalStrategy, JwtStrategy], exports: [AuthService],})export class AuthModule {}jwt.strategy.ts
import { PassportStrategy } from '@nestjs/passport'import { AuthService } from './auth.service'import { Injectable } from '@nestjs/common'import { ExtractJwt, Strategy } from 'passport-jwt'
@Injectable()export class JwtStrategy extends PassportStrategy(Strategy) {  constructor(private authService: AuthService) {    super({      jwtFromRequest: ExtractJwt.fromAuthHeaderAsBearerToken(),      ignoreExpiration: false,      secretOrKey: 'MySecret',    })  }
  validate(payload: any) {    return { username: payload.username, password: payload.sub }  }}
其中:
- jwtFromRequest:表示从header中的Authorization属性中获取Bearer的token值
- ignoreExpiration:表示不忽视token过期的情况,过期会返回401
最后实现validate方法,并返回一个user对象。
在auth.service.ts文件中,新增一个login方法
import { Inject, Injectable } from '@nestjs/common'import { UserService } from 'src/user/user.service'import * as md5 from 'md5'import { LoginUserDto } from 'src/user/dto/login-user.dto'import { JwtService } from '@nestjs/jwt'
@Injectable()export class AuthService { @Inject(UserService) private userService: UserService @Inject(JwtService) private jwtService: JwtService
async validateUser(username: string, password: string): Promise<any> { const findUser = await this.userService.findOneByUsername(username) if (findUser && findUser.password === md5(password)) { return findUser } return null }
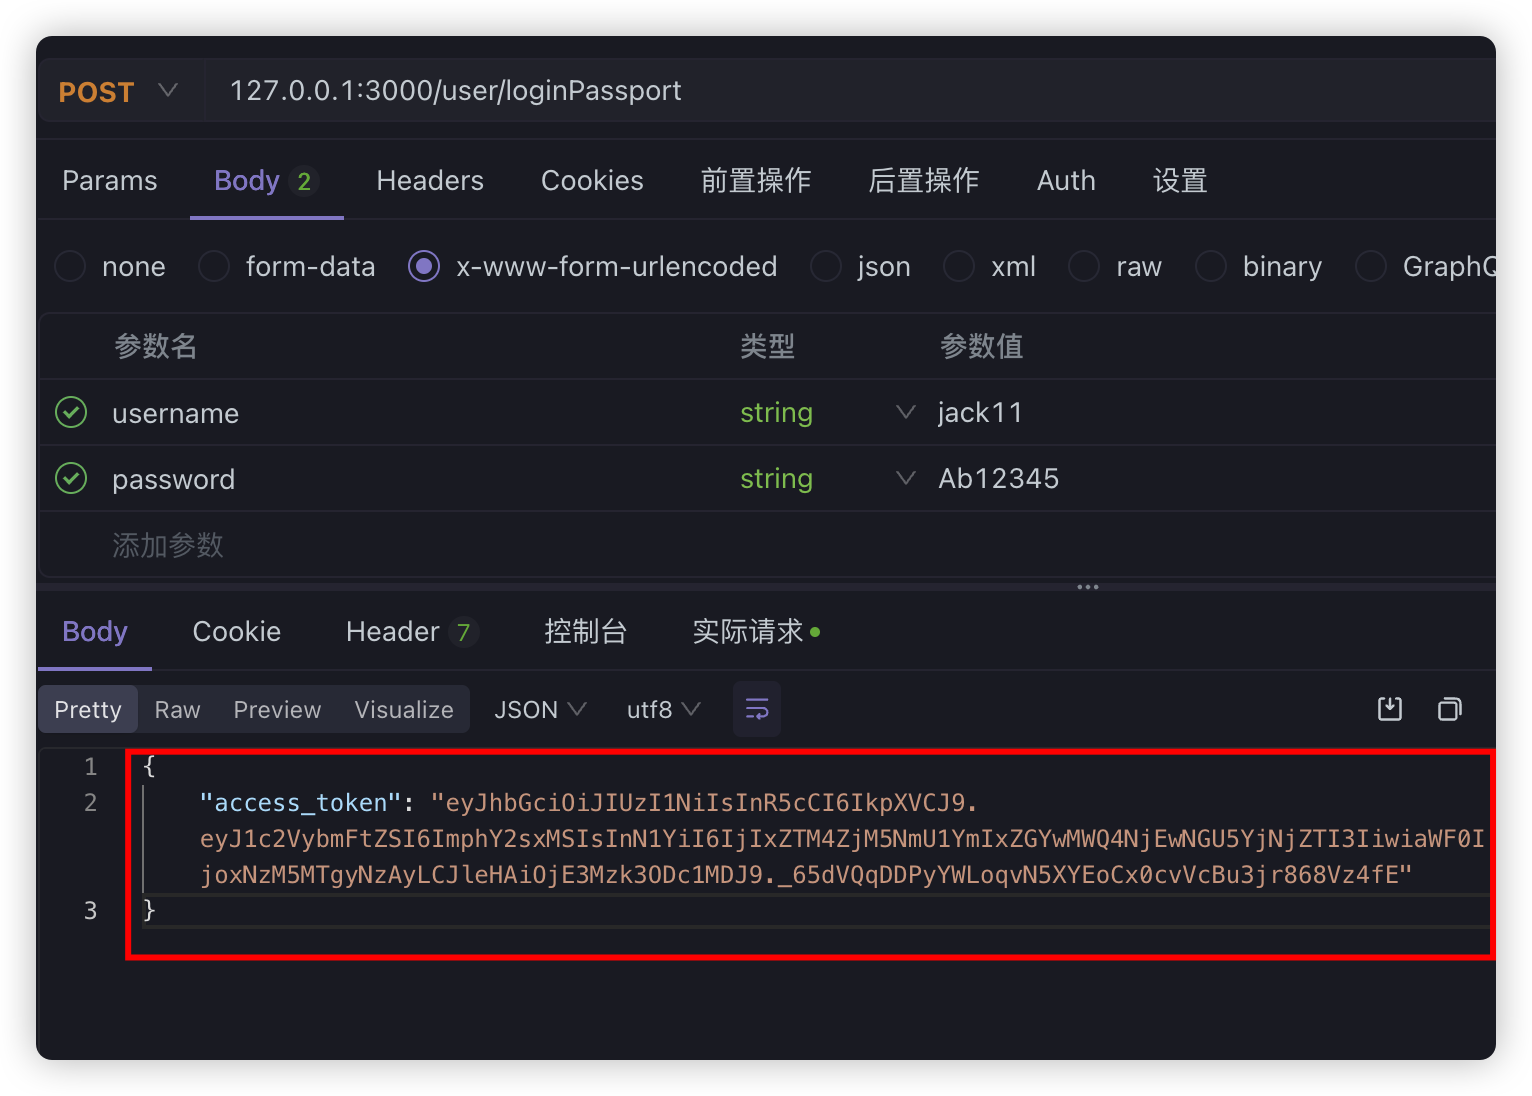
async login(user: LoginUserDto) { const payload = { username: user.username, sub: user.password } return { access_token: this.jwtService.sign(payload), } }}现在,我们在UserController中调用login的时候,还需要生成JWT的值
@Inject(AuthService)private authService: AuthService;
@UseGuards(AuthGuard('local'))@Post('loginPassport')async loginPassport(@Req() req) {  return this.authService.login(req.user);}
现在我们登录一下:
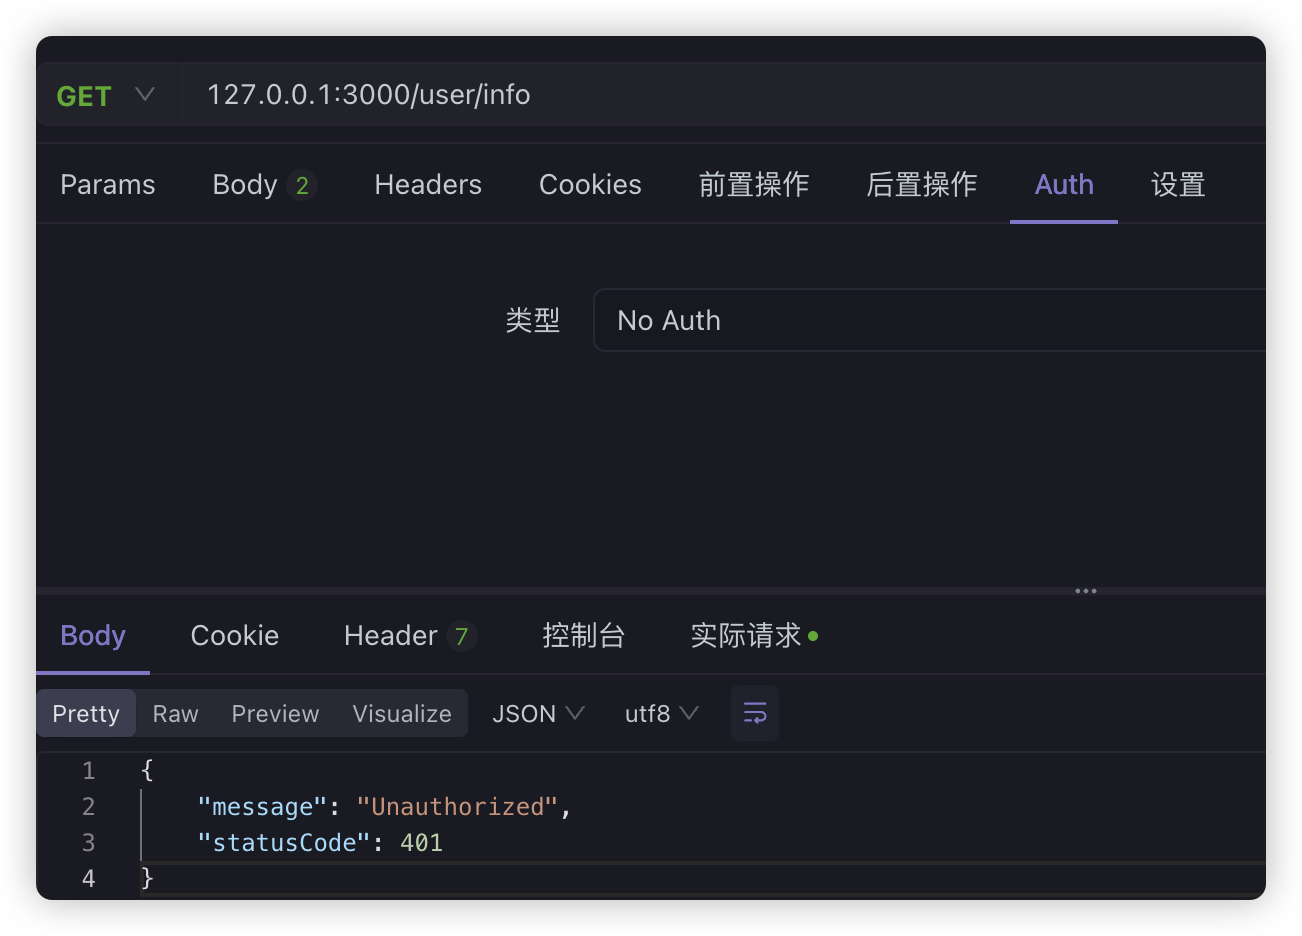
等于现在我们生成这个JWT的值之后,以后要访问有权限的路由,就必须在头信息上加上jwt,不然验证不通过,比如我们直接在info路由上使用现在的处理
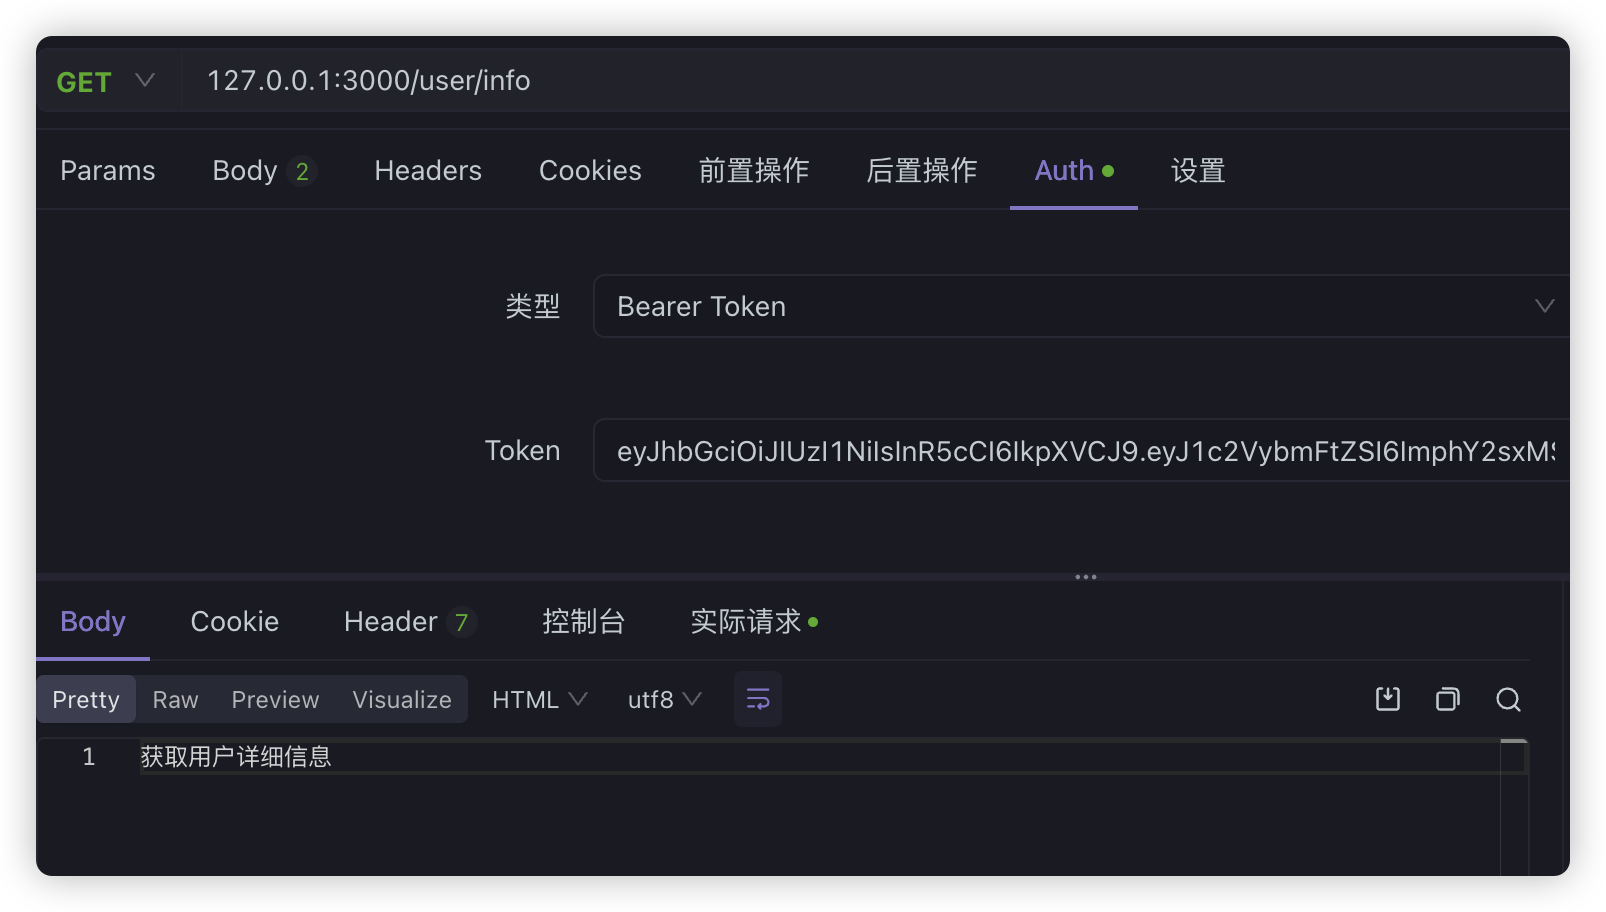
@Get('info')// @UseGuards(LoginGuard)@UseGuards(AuthGuard('jwt'))getUserInfo() { return '获取用户详细信息';}如果没有带token:
带上token之后:
通过环境变量获取配置信息#
前面在配置MySQL和JWT的时候,我们把一些字符串信息硬编码到代码中了,然而生成环境中并不推荐这么做,而是应该使用环境变量或者配置服务来管理,因此,我们可以在项目根目录下创建一个.env文件来维护环境变量
DB_USER=rootDB_HOST=localhostDB_PORT=3306DB_PASSWORD=123456DB_DATABASE=login_testJWT_SECRET=MySecretJWT_EXPIRE_TIME=7d要获取配置信息,还需要安装@nestjs/config包
pnpm add @nestjs/config -S并且,在AppModule中需要引入ConfigModule模块,而且最好将配置模块直接注入全局:
import { ConfigModule } from '@nestjs/config';
@Module({ imports: [ ConfigModule.forRoot({ isGlobal: true, }), ] //......})为了获取配置信息,我们需要把TypeORM模块改成工厂函数的方式进行注册,并且需要**注入ConfigService**获取配置信息
TypeOrmModule.forRootAsync({ inject: [ConfigService], useFactory: async (configService: ConfigService) => ({ type: 'mysql', host: configService.get<string>('DB_HOST'), port: configService.get<number>('DB_PORT'), username: configService.get<string>('DB_USER'), password: configService.get<string>('DB_PASSWORD'), database: configService.get<string>('DB_DATABASE'), synchronize: true, logging: true, autoLoadEntities: true, entities: [__dirname + '/**/*.entity{.ts,.js}'], timezone: 'Z', }),}),注意:
TypeOrmModule.forRootAsync需要至少Node20以上的版本。
我们在Auth模块中,动态引入Jwt
JwtModule.registerAsync({ imports: [ConfigModule], inject: [ConfigService], useFactory: (configService: ConfigService) => ({ secret: configService.get<string>('JWT_SECRET'), signOptions: { expiresIn: configService.get<string>('JWT_EXPIRE_TIME'), }, }),}),