自定义方法装饰器#
除了NestJS给我们提供的众多装饰器之外,其实我们还可以自定义装饰器,我们来测试一下,首先还是生成测试项目:
nest new custom-decorator -g -p npm然后直接通过命令生成自定义装饰器文件:
nest g decorator custom --flat文件内就有自动生成的一个函数:
import { SetMetadata } from '@nestjs/common'
export const Custom = (...args: string[]) => SetMetadata('custom', args)Custom这个自动生成的函数其实就是一个自定义方法装饰器,我们稍微改一个名字试试
import { SetMetadata } from '@nestjs/common'
export const SetUser = (...args: string[]) => SetMetadata('SetUser', args)
然后把这个装饰器用在路由方法之上。
@Controller()export class AppController {  constructor(private readonly appService: AppService) {}
@Get('hello1') @SetUser('admin', 'user') getHello(): string { return this.appService.getHello() }}由于是用在Controller上的,要取出SetUser装饰器上的值,我们可以使用守卫
创建一个守卫:
nest g guard custom --flat --no-spec在guard中使用 reflector 来取 metadata元数据:
import {  CanActivate,  ExecutionContext,  Inject,  Injectable,} from '@nestjs/common'import { Reflector } from '@nestjs/core'import { Observable } from 'rxjs'
@Injectable()export class CustomGuard implements CanActivate {  @Inject(Reflector)  private reflector: Reflector
  canActivate(    context: ExecutionContext  ): boolean | Promise<boolean> | Observable<boolean> {    const users = this.reflector.get('SetUser', context.getHandler())    console.log(users)
    return true  }}
在Controller上添加上守卫
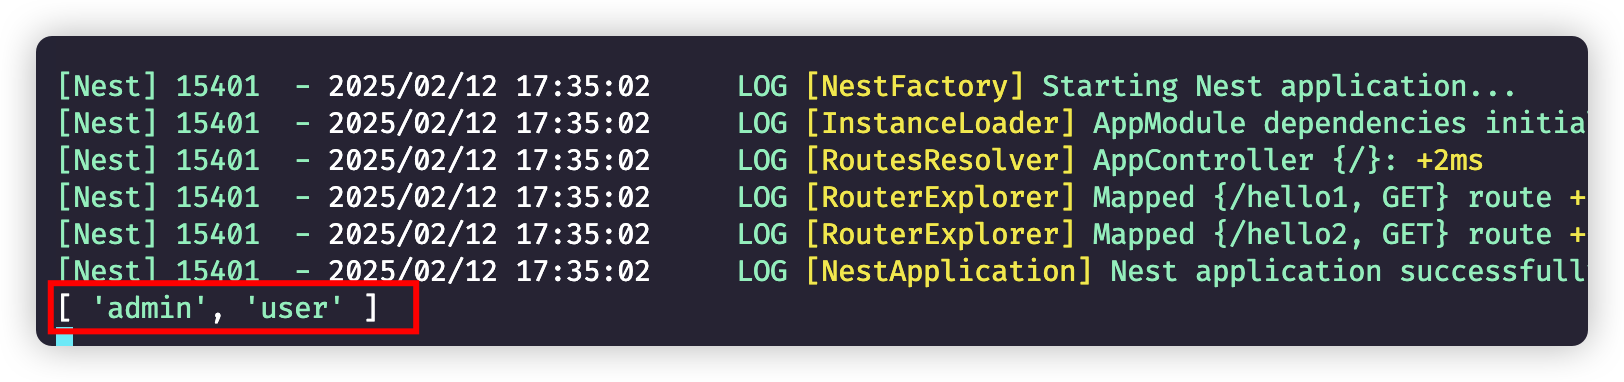
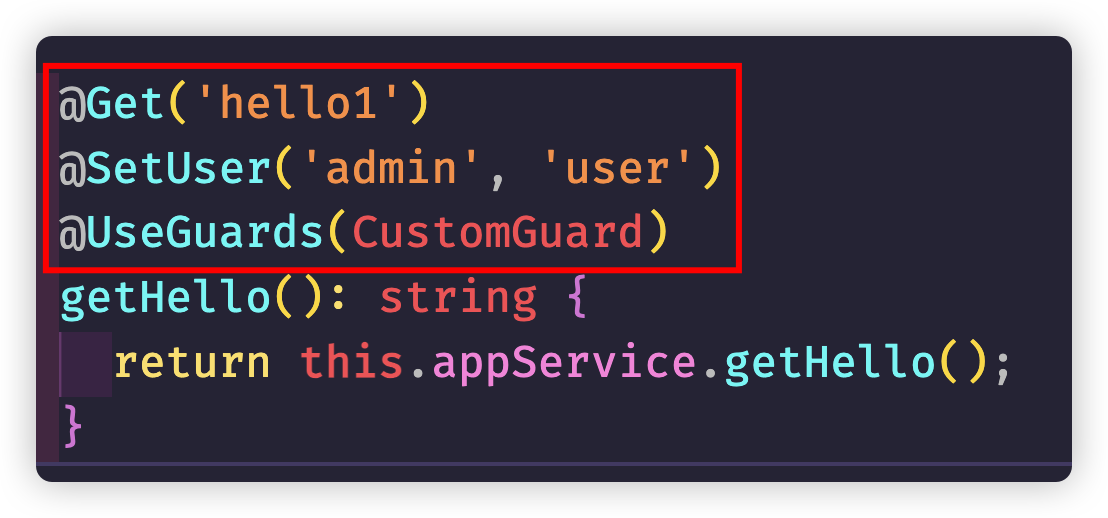
@Get('hello1')@SetUser('admin', 'user')@UseGuards(CustomGuard)getHello(): string { return this.appService.getHello();}当访问路由之后,就会打印通过装饰器设置的值
自定义参数装饰器#
我们可以通过自定义装饰器获取请求中的特定属性:
import { createParamDecorator, ExecutionContext, SetMetadata,} from '@nestjs/common'
export const SetUser = (...args: string[]) => SetMetadata('SetUser', args)
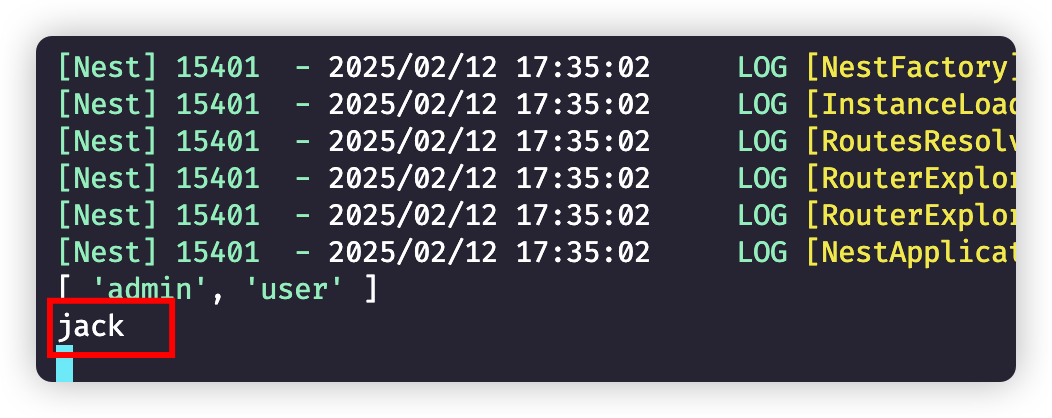
export const GetUser = createParamDecorator( (data: string, ctx: ExecutionContext) => { return 'jack' })在Controller中简单处理一下:
@Get('hello2')getHello2(@GetUser() u: string): string { console.log(u); return this.appService.getHello();}返回结果:
实际上,data: string, ctx: ExecutionContext都是有用的。
data 很明显就是传入的参数,而 ExecutionContext 前面用过,可以取出 request、response 对象。
比如我们写成下面的样子:
export const GetUser = createParamDecorator( (data: string, ctx: ExecutionContext) => { const request = ctx.switchToHttp().getRequest() console.log(request) console.log(data) return request.query[data] })在Controller中进行处理
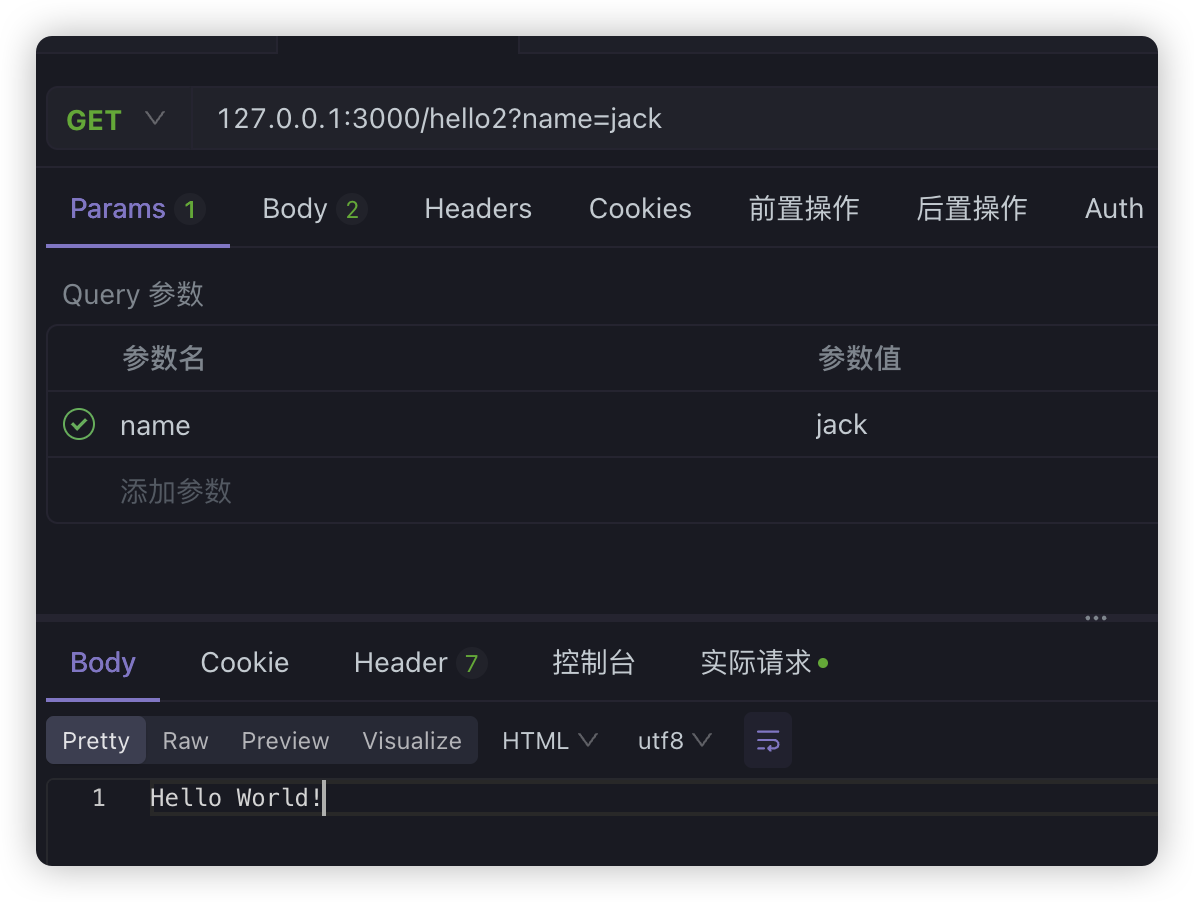
@Get('hello2')getHello2(@GetUser('name') u: string): string { console.log('---', u); return this.appService.getHello();}页面访问:
现在看一下打印信息,就知道data和ExecutionContext的作用了
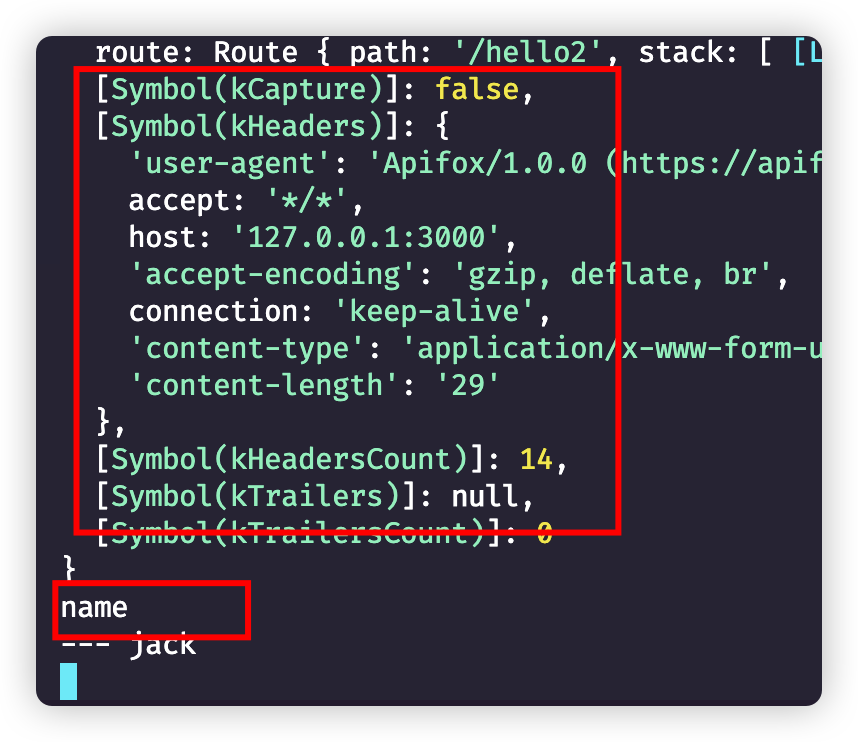
很明显,data其实就是装饰器中声明的参数名,而且既然我们可以获取request对象,那么我们完全可以复刻NestJS自带的一些参数装饰器,比如@Param、@Query、@Headers等等
自定义的MyHeaders#
export const MyHeaders = createParamDecorator( (data: string, ctx: ExecutionContext) => { const request: Request = ctx.switchToHttp().getRequest() return data ? request.headers[data.toLowerCase()] : request.headers })Controller中使用和@Headers用法一模一样
@Get('hello3')getHello3(@Headers('host') header1, @MyHeaders('host') header2): string { console.log(header1); console.log(header2); return this.appService.getHello();}自定义MyQuery#
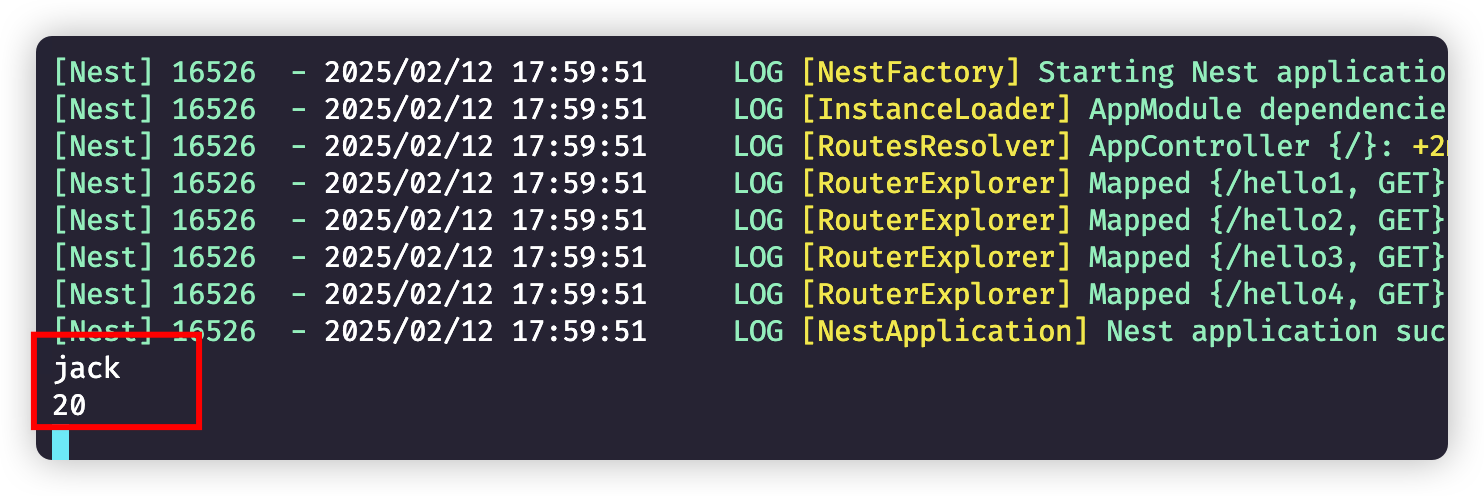
export const MyQuery = createParamDecorator( (data: string, ctx: ExecutionContext) => { const request: Request = ctx.switchToHttp().getRequest() return request.query[data] })Controller中使用和@Query用法一模一样
@Get('hello4')getHello4( @Query('username') username: string, @MyQuery('age') age: number,): string { console.log(username); console.log(age); return this.appService.getHello();}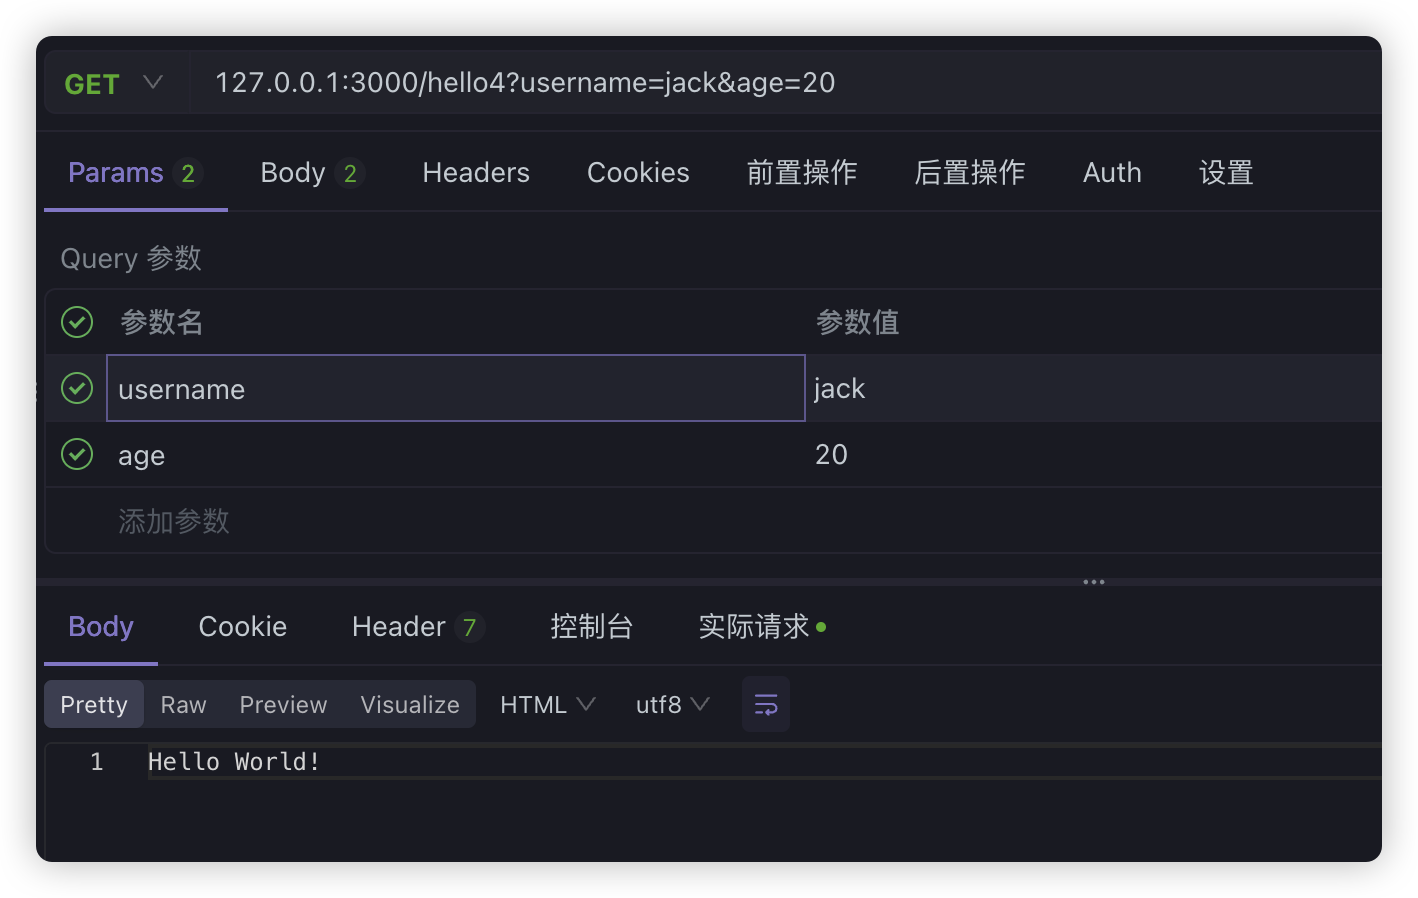
自定义MyParam#
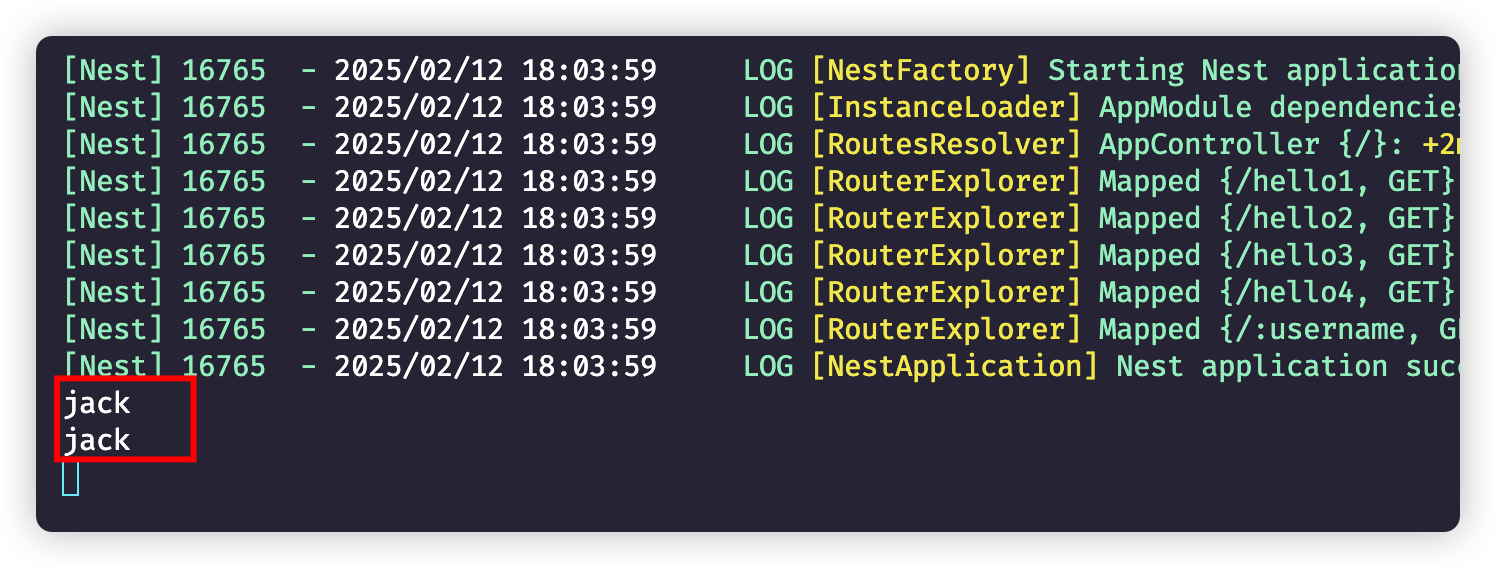
export const MyParam = createParamDecorator( (data: string, ctx: ExecutionContext) => { const request: Request = ctx.switchToHttp().getRequest() return data ? request.params[data] : request.params })Controller上访问
@Get(':username')getHello5( @Param('username') username1: string, @MyParam('username') username2: string,): string { console.log(username1); console.log(username2); return this.appService.getHello();}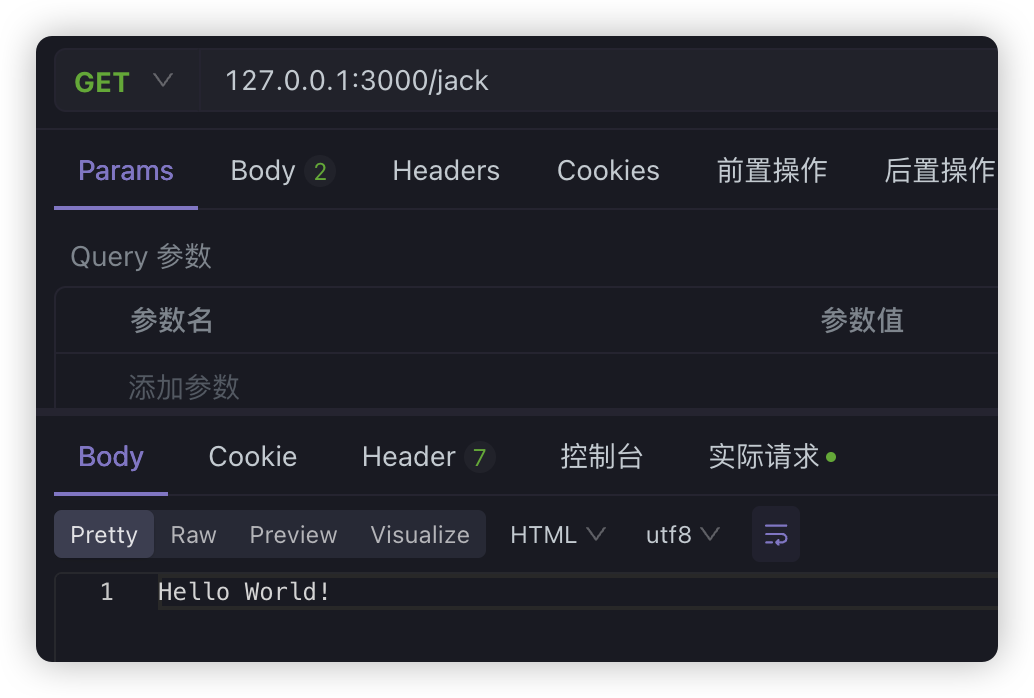
装饰器合并#
如果我们觉得装饰太多,也可以自定义装饰器将众多装饰器合并为一个,比如之前的装饰器:
我们可以使用applyDecorators组合多个装饰器:
export function MyCombinedDecorator(path: string, ...user: string[]) { return applyDecorators(Get(path), SetUser(...user), UseGuards(CustomGuard))}然后用这一个装饰器,去替换掉之前的三个装饰器就行了:
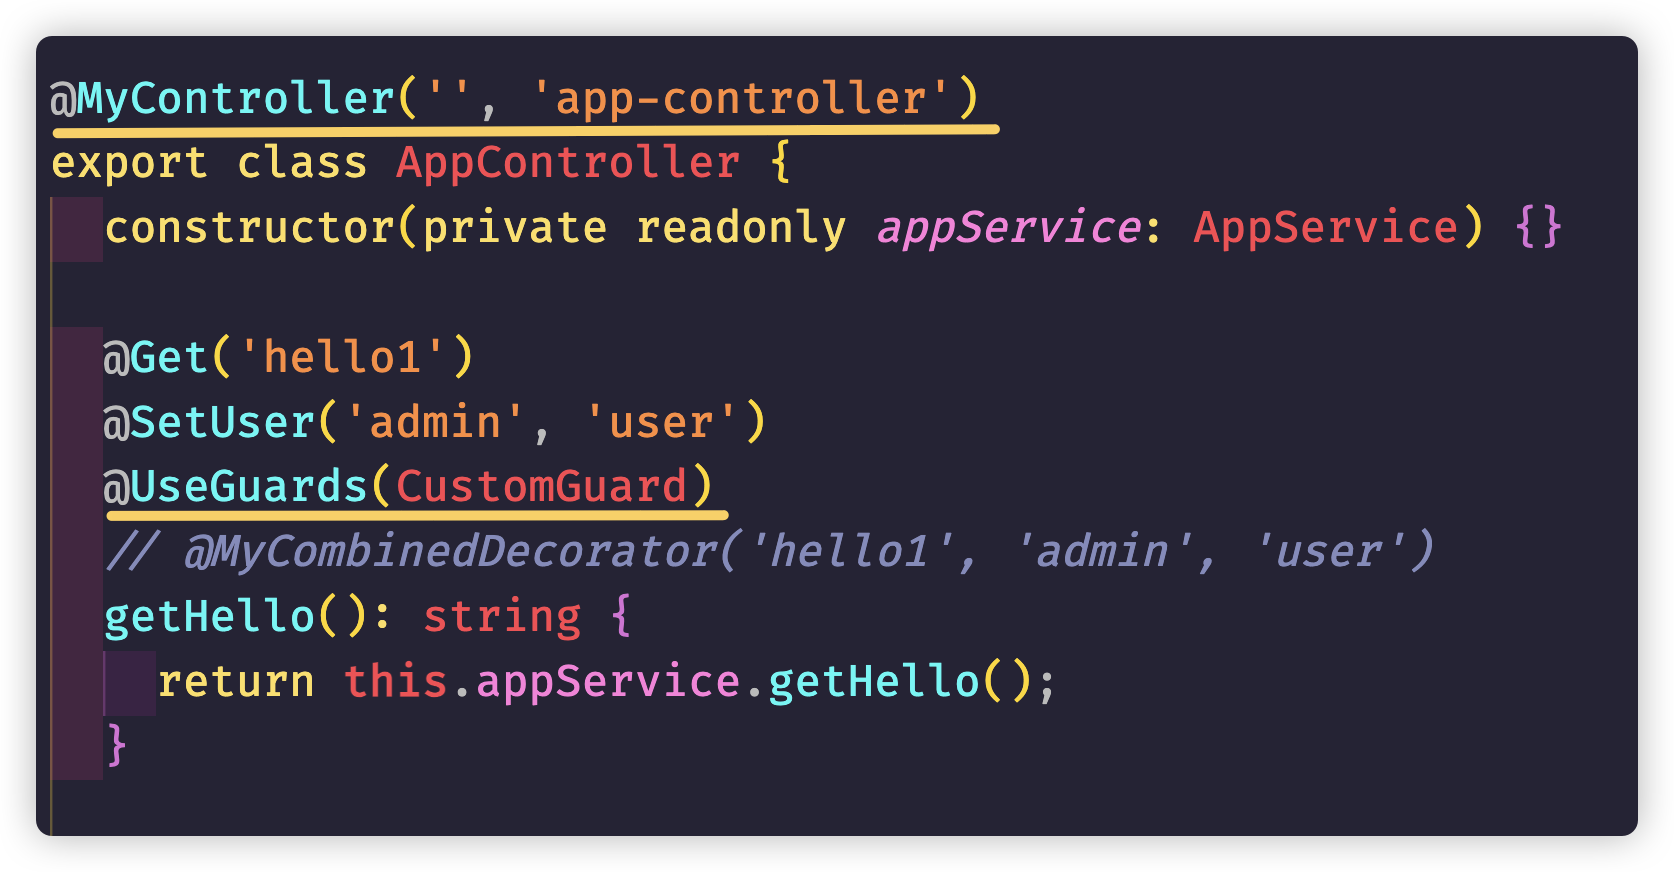
// @Get('hello1')// @SetUser('admin', 'user')// @UseGuards(CustomGuard)@MyCombinedDecorator('hello1', 'admin', 'user')getHello(): string { return this.appService.getHello();}自定义 class 装饰器#
类装饰器需要结合着applyDecorators一起来使用:
export function MyController(path: string, metaData: string) { return applyDecorators(Controller(path), SetMetadata('MyClass', metaData))}我们直接在AppController上使用:
由于在CustomGuard上我们有拦截,所以为了获取MyController上的metaData数据,我们可以在CustomGuard稍微处理一下:
@Injectable()export class CustomGuard implements CanActivate {  @Inject(Reflector)  private reflector: Reflector;  canActivate(    context: ExecutionContext,  ): boolean | Promise<boolean> | Observable<boolean> {    const metaData = this.reflector.get('MyClass', context.getClass());    console.log(metaData);
    const users = this.reflector.get('SetUser', context.getHandler());    console.log(users);    return true;  }}