单文件上传#
在Nest中,上传单个文件的功能由FileInterceptor()拦截器和@UploadFile()装饰器共同实现。当FileInterceptor绑定到控制器方法时,它负责拦截请求中包含的文件,并将这些文件保存到指定的位置。而@UploadFile()装饰器用于从请求中提取已上传的文件。
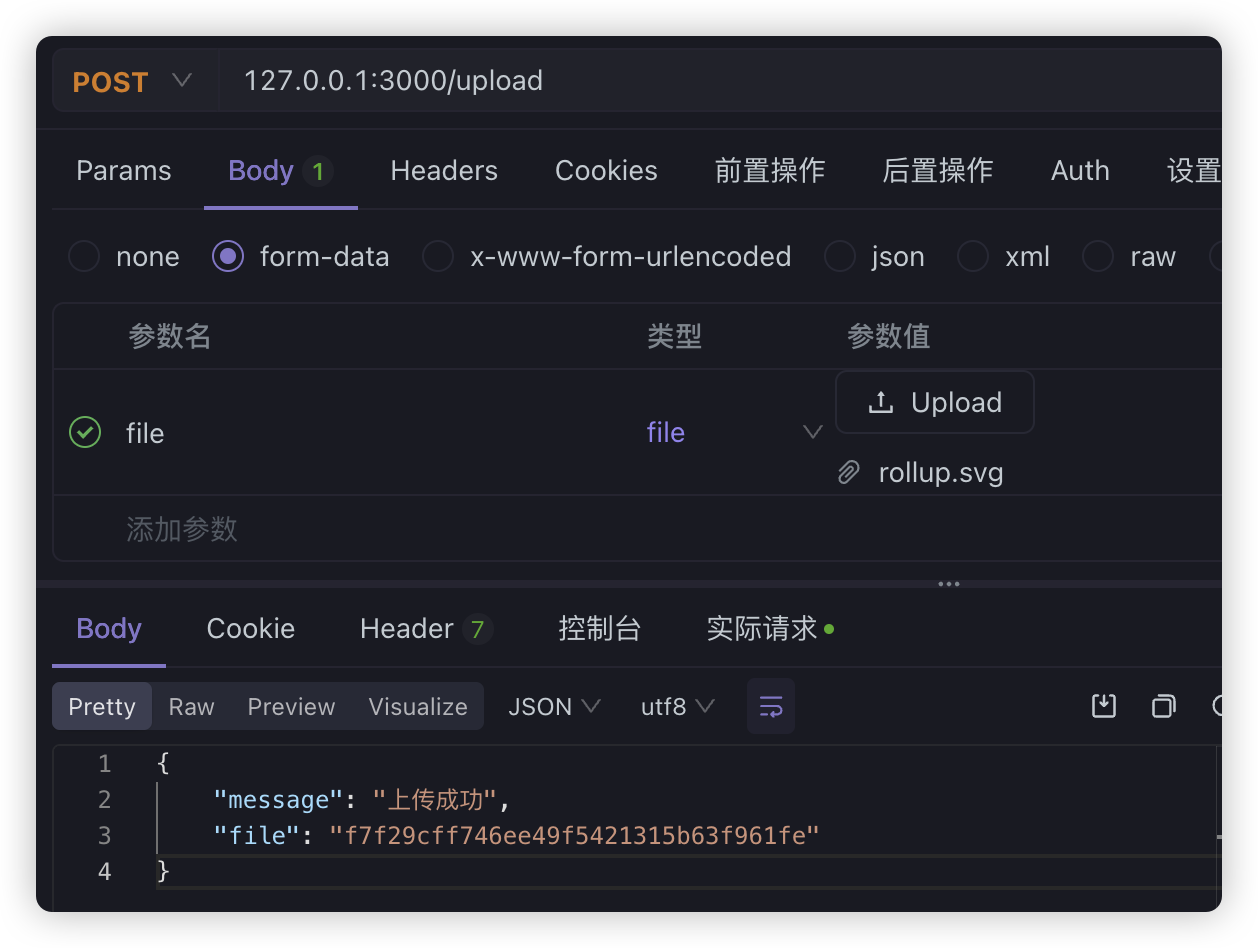
@Post('upload')@UseInterceptors(FileInterceptor('file', { dest: './uploads' }))uploadFile(@UploadedFile() file: Express.Multer.File, @Body() body) { console.log(file); return { message: '上传成功', file: file.filename, };}注意:
FileInterceptor在包@nestjs/platform-express中,
Express.Multer.File是上传文件的类型,不过会报类型错误,需要引入相关的类型文件
pnpm add @types/multer -D
通过apifox操作之后:
除了在拦截器上直接指定文件上传后的保存位置之外,Multer中间件提供了文件存储引擎,我们可以在app.module.ts中通过动态模块进行配置
import { Module } from '@nestjs/common';import { AppController } from './app.controller';import { AppService } from './app.service';import { MulterModule } from '@nestjs/platform-express';import { diskStorage } from 'multer';import { extname } from 'path';
@Module({  imports: [    ......    MulterModule.register({      storage: diskStorage({        destination: './uploads',        filename: (req, file, cb) => {          const randomName = Array(32)            .fill(null)            .map(() => Math.round(Math.random() * 16).toString(16))            .join('');          const filename = `${randomName}${extname(file.originalname)}`;          console.log(filename);          cb(null, filename);        },      }),    }),  ],  controllers: [AppController],  providers: [AppService],})export class AppModule {}
其中
Array(32) .fill(null) .map(() => Math.round(Math.random() * 16).toString(16)) .join('')生成了一个由 32 个十六进制字符组成的随机字符串
Array(32).fill(null);// [null, null, null, ..., null] (长度为 32)
.map(() => Math.round(Math.random() * 16).toString(16))对数组的每个元素执行 map 函数,生成随机的十六进制字符。Math.random() 生成 0 到 1 的随机浮点数。Math.random() * 16 将随机数扩展到 0 到 16 的范围。Math.round(...) 将数值四舍五入为整数(0 到 16 之间的整数)。.toString(16) 将整数转换为十六进制字符(0-9 和 a-f)。extname函数需要从path中引入
多文件上传#
把 UploadedFile 换成 UploadedFiles,把FileInterceptor换成FilesInterceptor,都是多加一个 s就可以了
@Post('uploads1')@UseInterceptors( FilesInterceptor('files', 3, { dest: 'uploads', }),)uploadFiles1( @UploadedFiles() files: Array<Express.Multer.File>, @Body() body,) { console.log('files', files); return { message: '上传成功', files, };}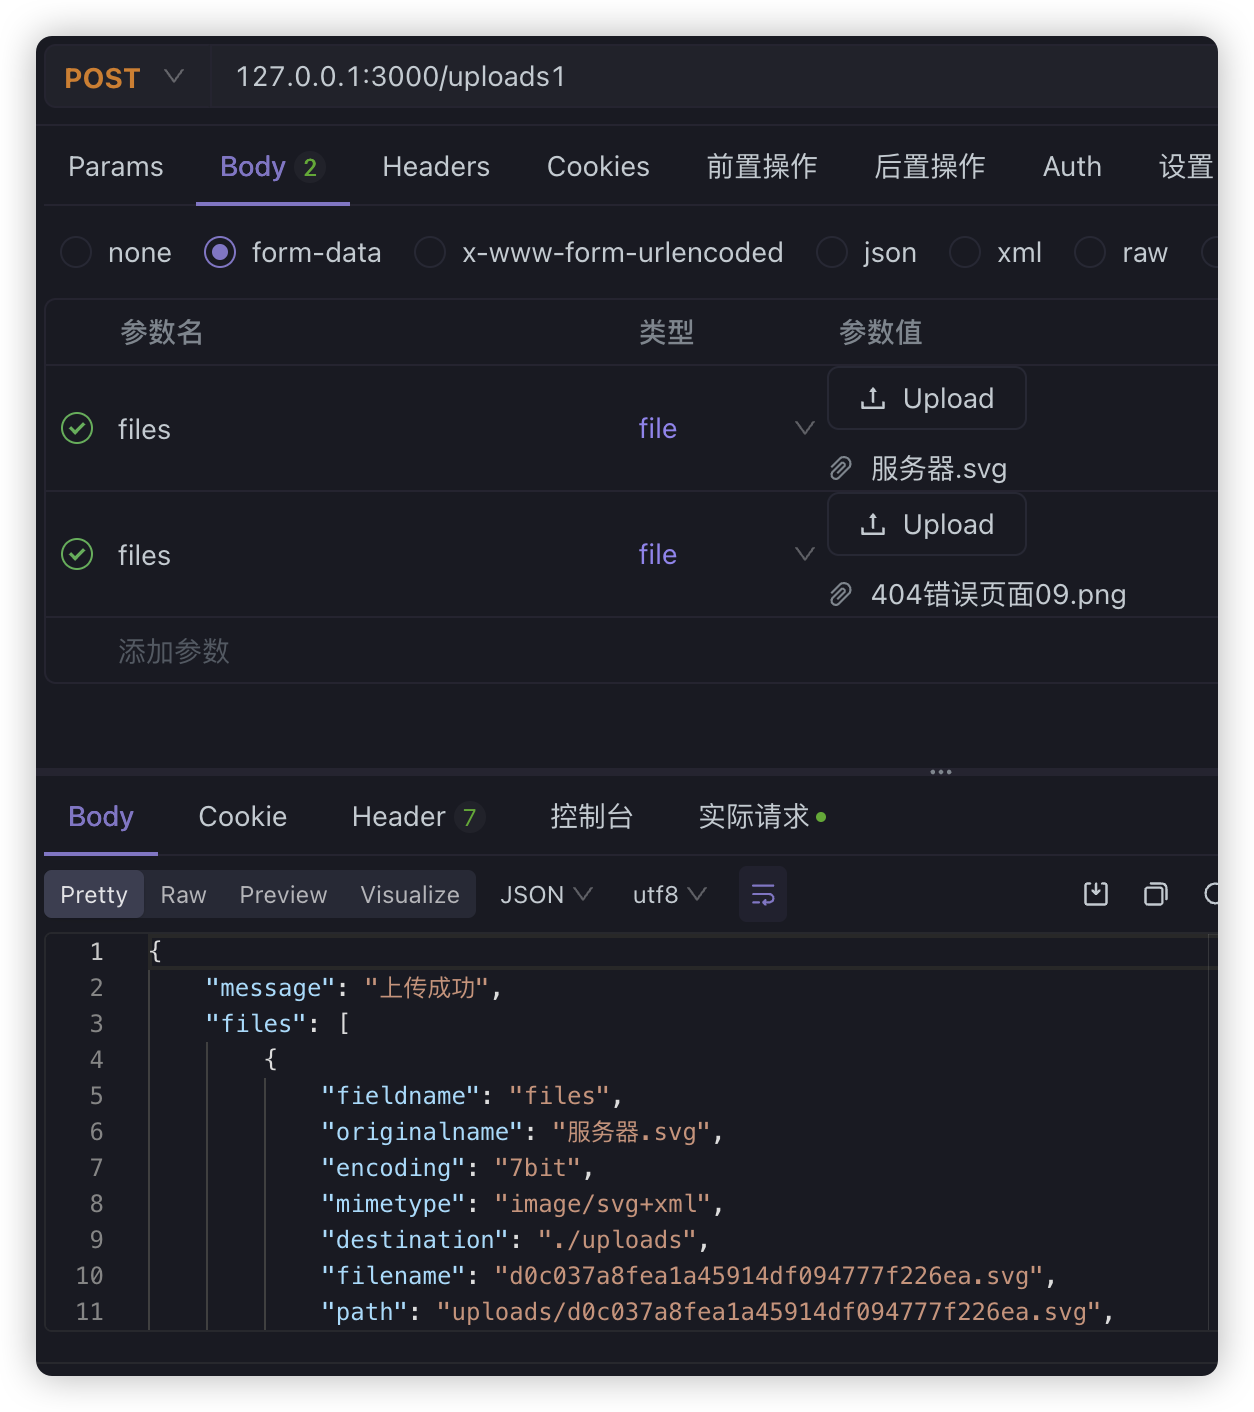
不过稍微注意的是,上传多文件并不会自动帮你创建文件夹。
除了上面的方式之外,还能以下面的方式传递多文件
@Post('uploads2')@UseInterceptors( FileFieldsInterceptor([ { name: 'files1', maxCount: 3 }, { name: 'files2', maxCount: 3 }, ]),)uploadFiles2( @UploadedFiles() files: { file1?: Express.Multer.File[]; file2?: Express.Multer.File[] }, @Body() body,) { console.log(files); return { message: '上传成功', files, };}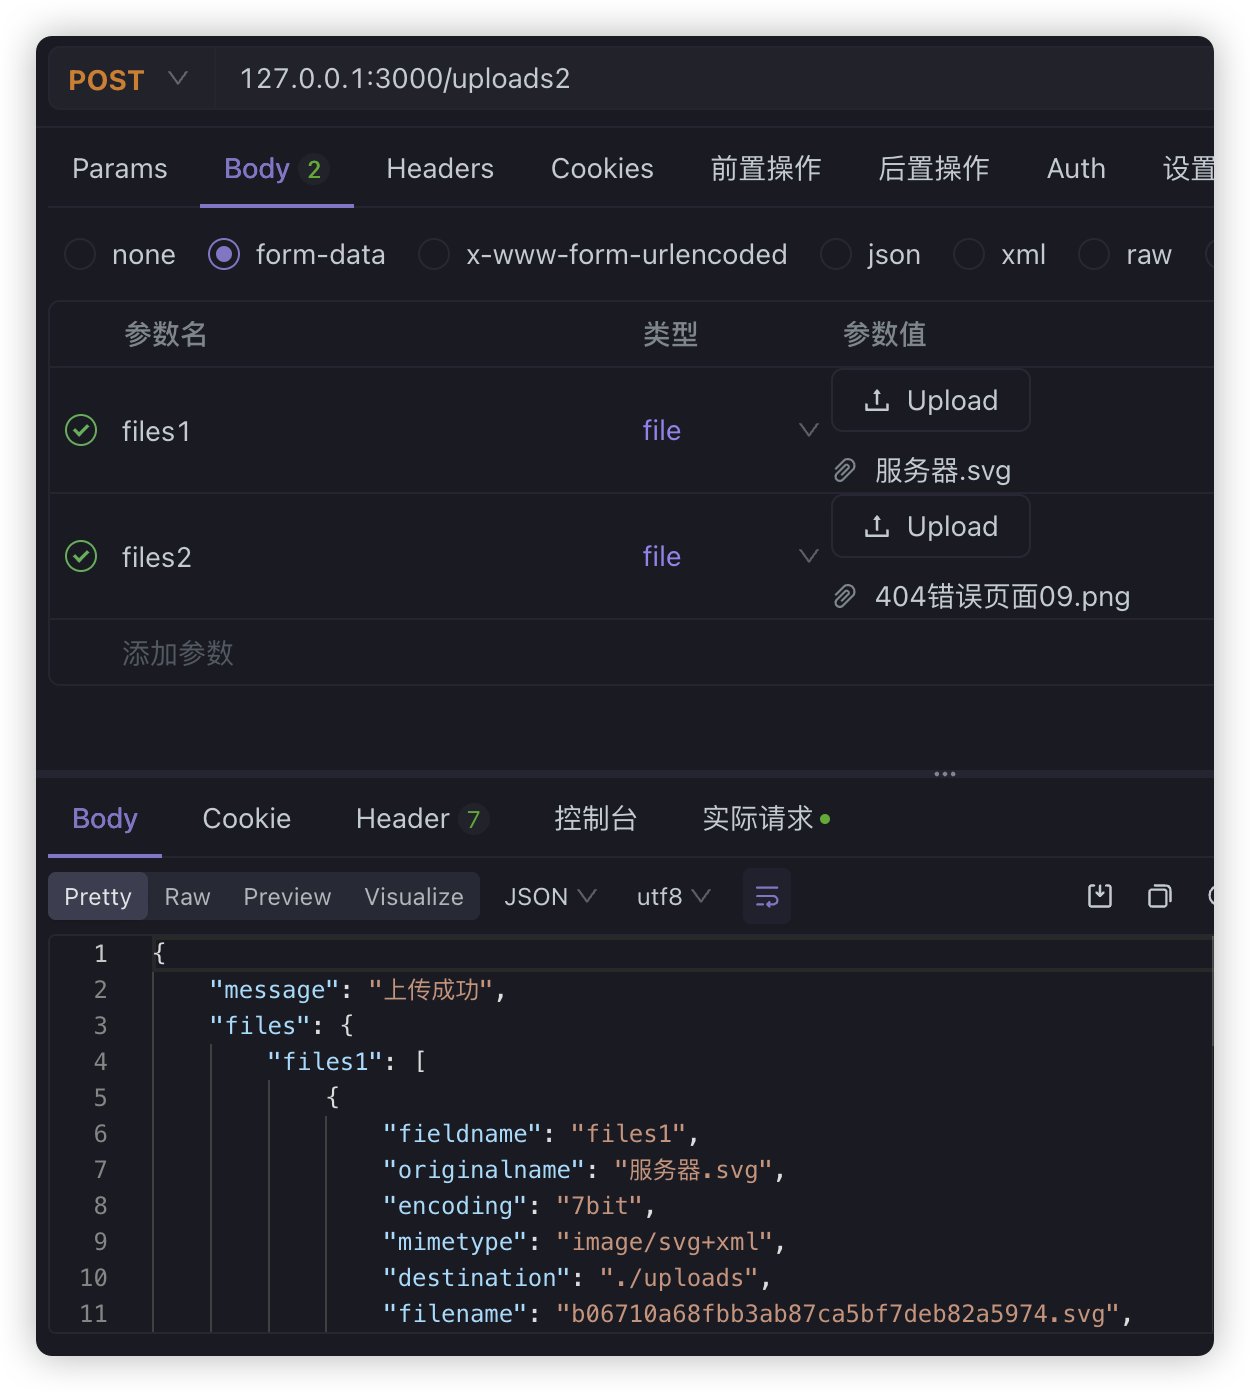
通过FileFieldsInterceptor分别处理多个文件的字段
任意字段文件上传#
如果并不知道有哪些字段是 file,可以用 AnyFilesInterceptor
@Post('anyUploads')@UseInterceptors( AnyFilesInterceptor({ dest: 'uploads', }),)uploadAnyFiles( @UploadedFiles() files: Array<Express.Multer.File>, @Body() body,) { console.log('files', files); return { message: '上传成功', files, };}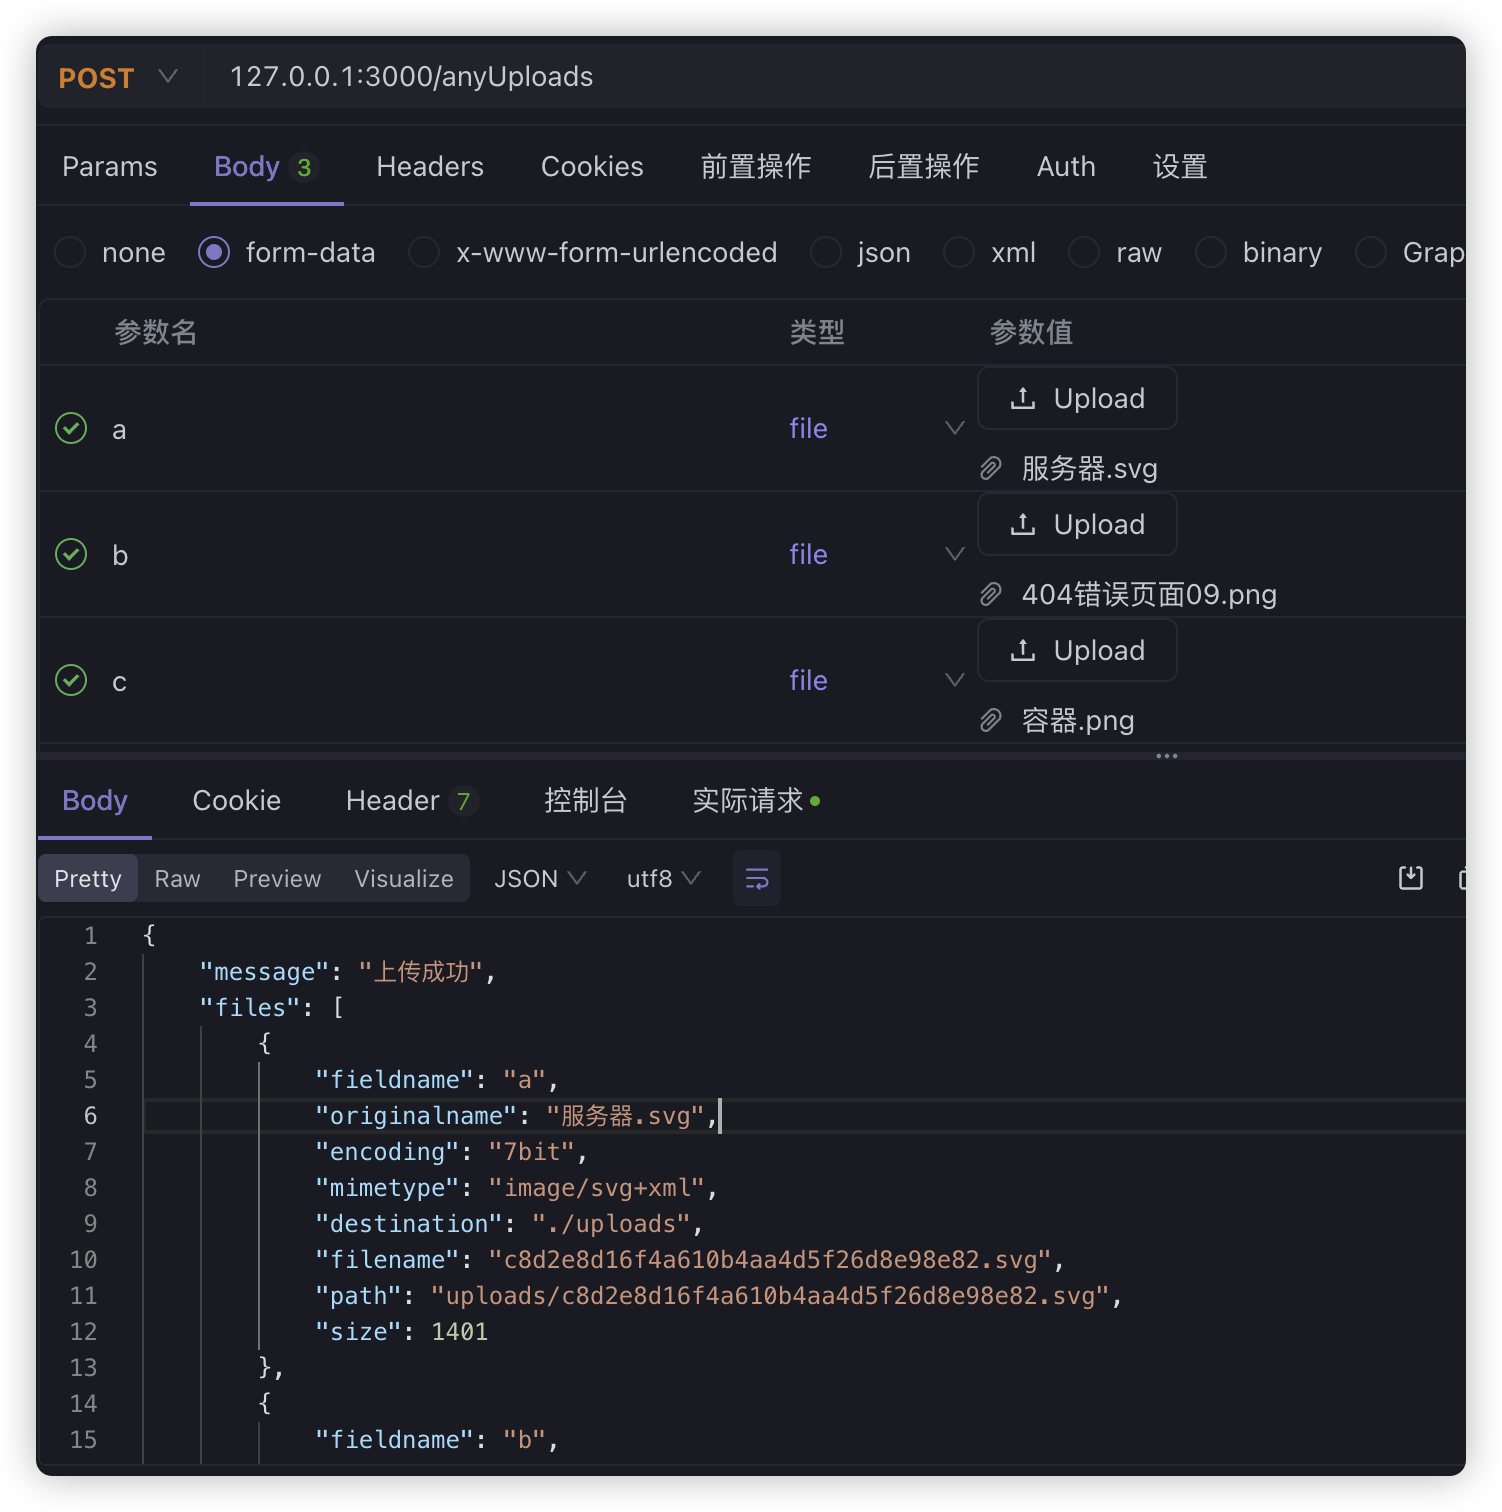
这样同样识别出了所有 file字段
而且,AnyFilesInterceptor还有storage字段,我们可以直接单独的处理文件存储,比如:
import * as multer from 'multer'import { extname } from 'path'
const storage = multer.diskStorage({  destination: './uploads',  filename: (req, file, cb) => {    const randomName = Array(32)      .fill(null)      .map(() => Math.round(Math.random() * 16).toString(16))      .join('')    const filename = `${randomName}${extname(file.originalname)}`    console.log(filename)    cb(null, filename)  },})
export { storage }直接在AnyFilesInterceptor中引入:
@Post('anyUploads')@UseInterceptors( AnyFilesInterceptor({ // dest: 'uploads', storage: storage, }),)uploadAnyFiles( @UploadedFiles() files: Array<Express.Multer.File>, @Body() body,) { console.log('files', files); return { message: '上传成功', files, };}上传限制#
要对上传的文件做一些限制,比如文件大小、类型等,这部分就可以利用我们讲过的 pipe 处理,比如我们完全可以自己创建一个Pipe
nest g pipe fileValidation --no-spec --flat在里面做一些简单处理
import {  ArgumentMetadata,  HttpException,  HttpStatus,  Injectable,  PipeTransform,} from '@nestjs/common'
@Injectable()export class FileValidationPipe implements PipeTransform {  transform(value: Express.Multer.File, metadata: ArgumentMetadata) {    if (value.size > 10 * 1024) {      console.log(value)      throw new HttpException('文件上传大小不能超过10k', HttpStatus.BAD_REQUEST)    }    return value  }}
在controller中应用:
@Post('upload')@UseInterceptors(FileInterceptor('file'))uploadFile( @UploadedFile(FileValidationPipe) file: Express.Multer.File, @Body() body,) { console.log(file); return { message: '上传成功', file: file.filename, };}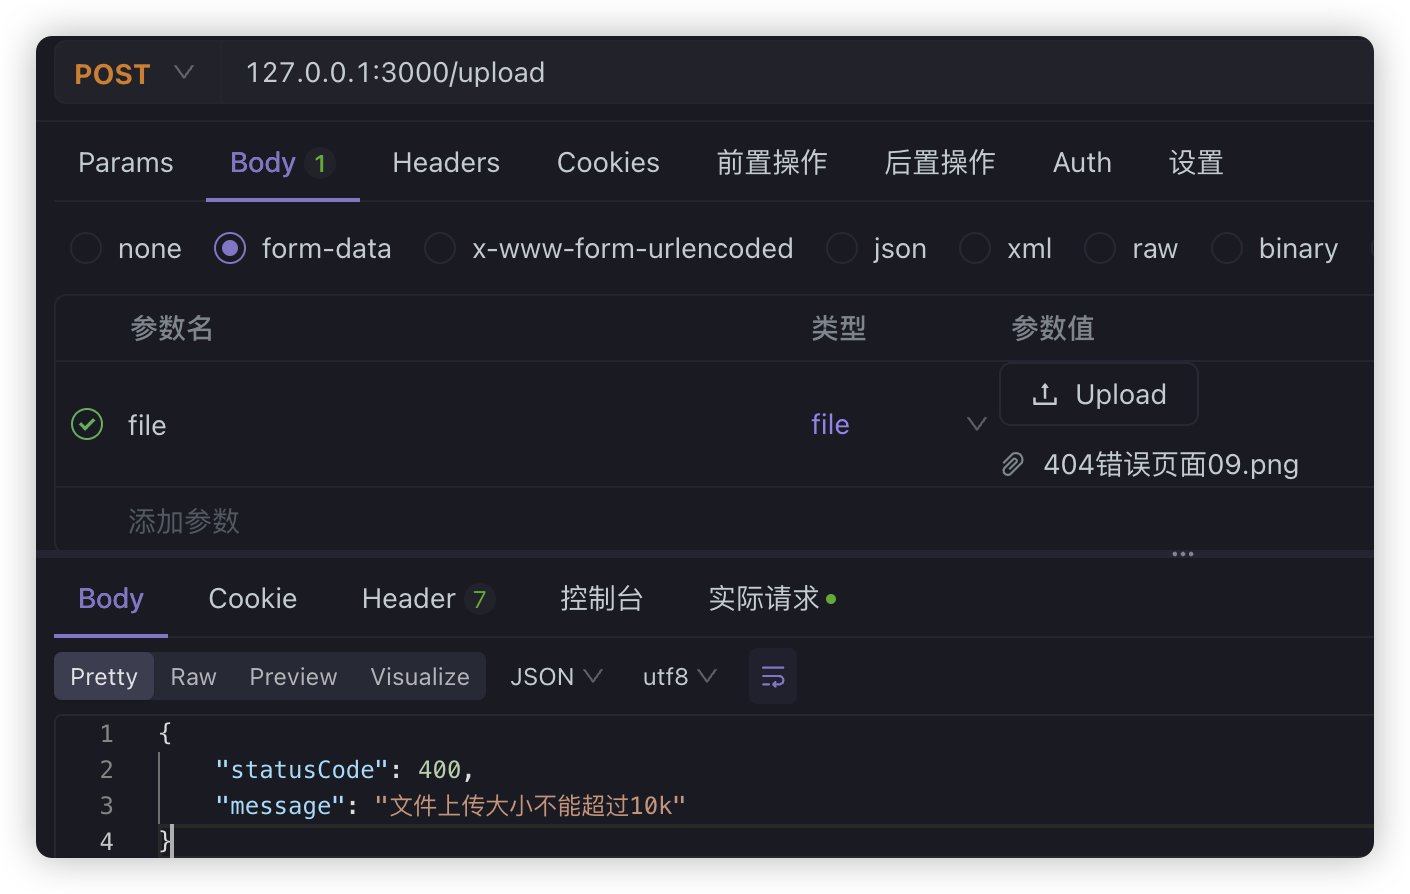
像文件大小、类型的校验这种逻辑太过常见,我们完全可以用Nest已经封装好的
@Post('upload')@UseInterceptors(FileInterceptor('file'))uploadFile( @UploadedFile( new ParseFilePipe({ validators: [ new MaxFileSizeValidator({ maxSize: 1000 }), new FileTypeValidator({ fileType: 'image/jpeg' }), ], exceptionFactory: (err) => { console.log(err); throw new HttpException( '文件大小或类型不正确,上传失败---' + err, 400, ); }, }), ) file: Express.Multer.File, @Body() body,) { console.log(file); return { message: '上传成功', file: file.filename, };}其中,MaxFileSizeValidator 是校验文件大小、FileTypeValidator 是校验文件类型,我们也可以自己实现这样的 validator,只要继承 FileValidator 就可以
import { FileValidator } from '@nestjs/common'
export class MyFileValidator extends FileValidator {  constructor(options: Record<string, any>) {    super(options)  }
  isValid(file: Express.Multer.File): boolean | Promise<boolean> {    if (file.size > 10 * 1024) {      return false    } else if (file.mimetype !== 'image/jpeg') {      return false    }    return true  }  buildErrorMessage(file: Express.Multer.File): string {    if (file.size > 10 * 1024) {      return `文件 ---${file.originalname}--- 大小超出 10k`    } else if (file.mimetype !== 'image/jpeg') {      return `文件 ---${file.originalname}--- 类型不是 image/jpeg`    }  }}
在controller中使用
@Post('upload')@UseInterceptors(FileInterceptor('file'))uploadFile( @UploadedFile( new ParseFilePipe({ validators: [new MyFileValidator({})], exceptionFactory: (err) => { console.log(err); throw new HttpException(err, 400); }, }), ) file: Express.Multer.File, @Body() body,) { console.log(file); return { message: '上传成功', file: file.filename, };}